> ## Documentation Index
> Fetch the complete documentation index at: https://private-7c7dfe99-postgresql-tls-support.mintlify.site/llms.txt
> Use this file to discover all available pages before exploring further.
> Hashboard is a robust analytics platform that can be easily integrated with ClickHouse for real-time data analysis.
# Connecting ClickHouse to Hashboard
export const CommunityMaintainedBadge = () => {
return ;
};
export const Image = ({img, alt, size = "lg"}) => {
const normalizedSize = ["sm", "md", "lg"].includes(size) ? size : "lg";
return ;
};
[Hashboard](https://hashboard.com) is an interactive data exploration tool that enables anyone in your organization to track metrics and discover actionable insights. Hashboard issues live SQL queries to your ClickHouse database and is particularly useful for self-serve, ad hoc data exploration use cases.
This guide will walk you through the steps to connect Hashboard with your ClickHouse instance. This information is also available on Hashboard's [ClickHouse integration documentation](https://hashboard.com/docs/database-connections/clickhouse).
Pre-requisites
* A ClickHouse database either hosted on your own infrastructure or on [ClickHouse Cloud](https://clickhouse.com/).
* A [Hashboard account](https://hashboard.com/getAccess) and project.
Steps to connect Hashboard to ClickHouse
To connect to ClickHouse with native TCP you need this information:
| Parameters | Description |
| ------------------------- | ------------------------------------------------------------------------------------------------------------- |
| `HOST` and `PORT` | Typically, the port is 9440 when using TLS, or 9000 when not using TLS. |
| `DATABASE NAME` | Out of the box there is a database named `default`, use the name of the database that you want to connect to. |
| `USERNAME` and `PASSWORD` | Out of the box the username is `default`. Use the username appropriate for your use case. |
The details for your ClickHouse Cloud service are available in the ClickHouse Cloud console.
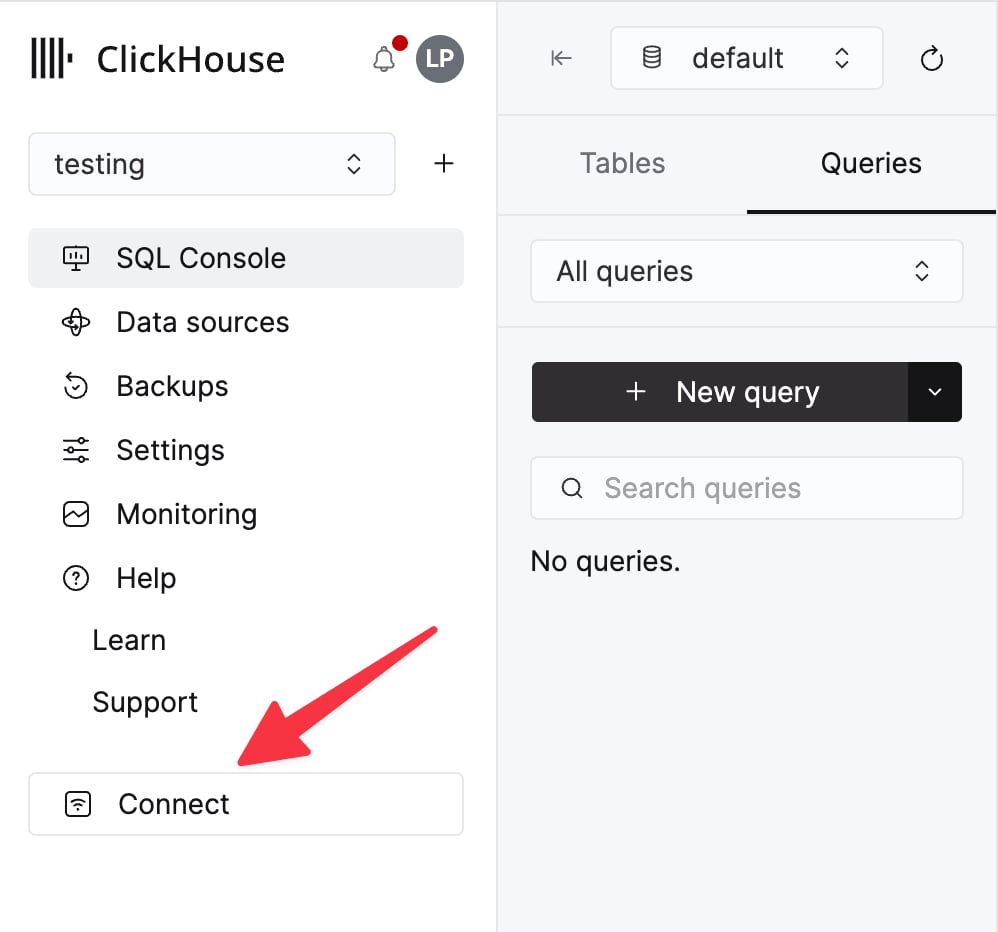
Select the service that you will connect to and click **Connect**:
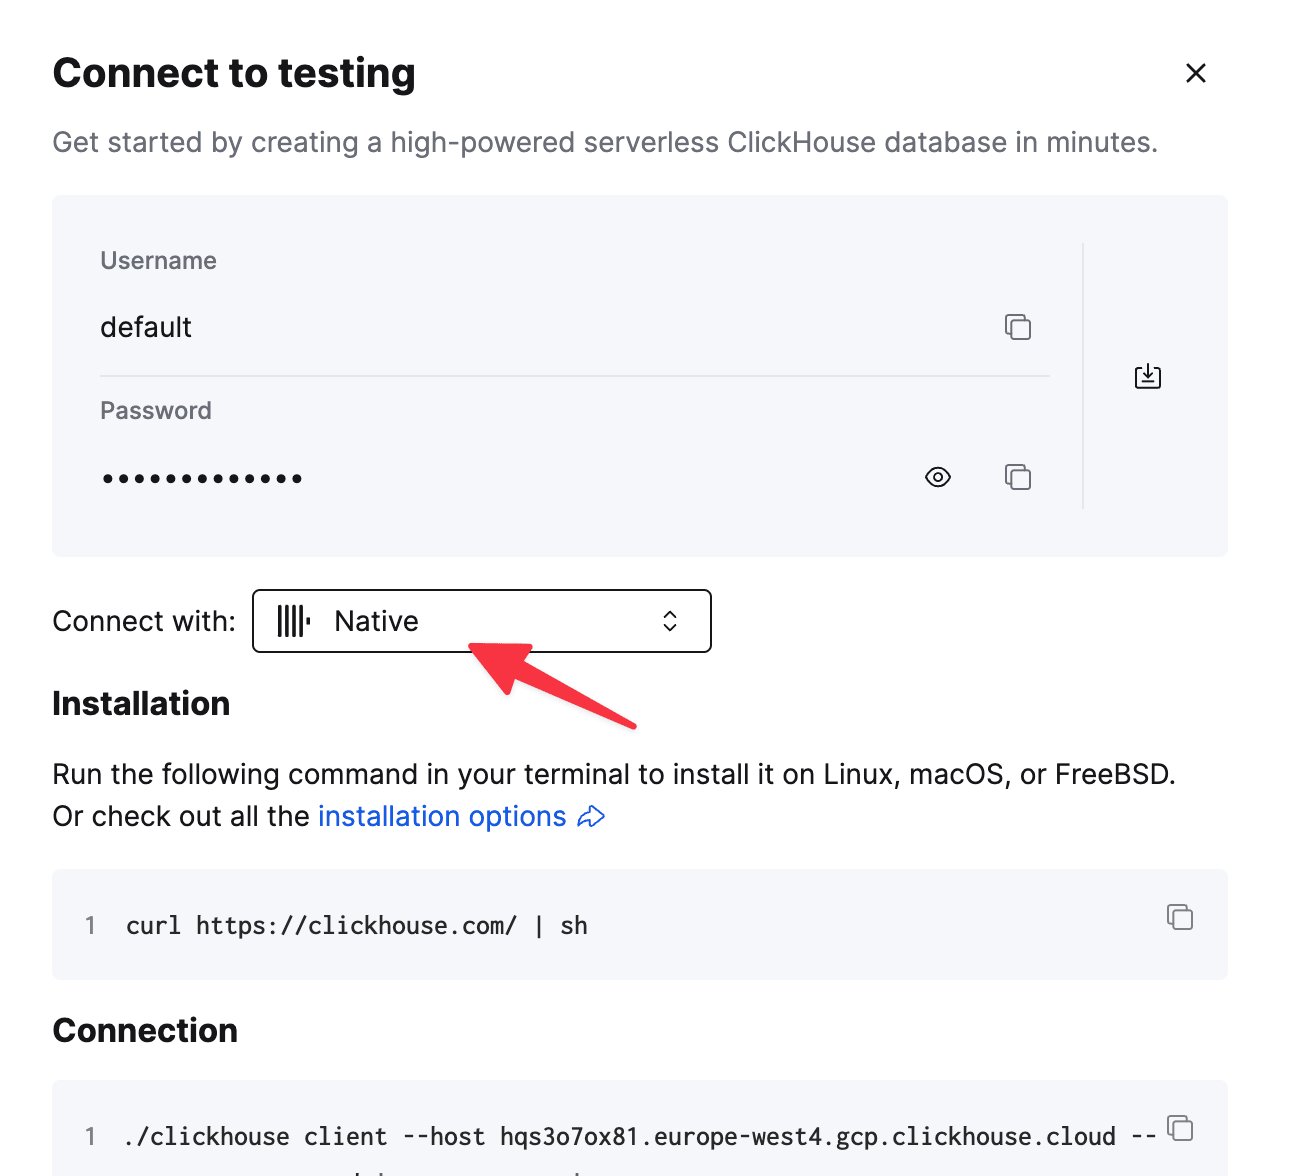
Choose **Native**, and the details are available in an example `clickhouse-client` command.
If you're using self-managed ClickHouse, the connection details are set by your ClickHouse administrator.
1. Navigate to your [Hashboard project](https://hashboard.com/app).
2. Open the Settings page by clicking the gear icon in the side navigation bar.
3. Click `+ New Database Connection`.
4. In the modal, select "ClickHouse."
5. Fill in the **Connection Name**, **Host**, **Port**, **Username**, **Password**, and **Database** fields with the information gathered earlier.
6. Click "Test" to validate that the connection is configured successfully.
7. Click "Add"
Your ClickHouse database is now be connected to Hashboard and you can proceed by building [Data Models](https://hashboard.com/docs/data-modeling/add-data-model), [Explorations](https://hashboard.com/docs/visualizing-data/explorations), [Metrics](https://hashboard.com/docs/metrics), and [Dashboards](https://hashboard.com/docs/dashboards). See the corresponding Hashboard documentation for more detail on these features.
Learn more
For more advanced features and troubleshooting, visit [Hashboard's documentation](https://hashboard.com/docs).